Diplomas of Ryoma Elementary School
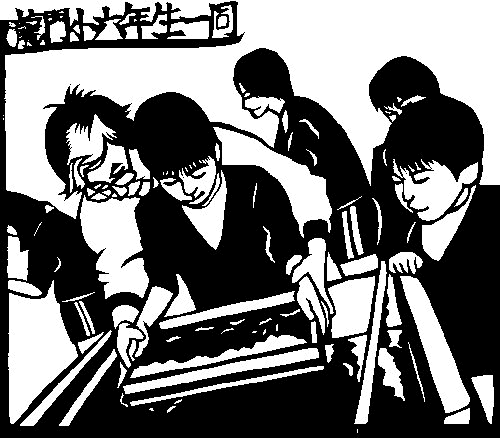 Every year, the Ryoma Elementary School graduating class makes their own graduation certificates by hand and from scratch. Teaching and supervising is master papermaker Hiroyuki Fukunishi.
The school is located in Yoshino, just north of Nara, and is an important papermaking area. As befitting, the students make their diplomas from scratch starting in the Kozo field. They cut the Kozo, strip off the bark, steam the bark, remove the outer bark, soften the inner bark, and so on until they have a final diploma. This entire process requires almost a month to complete.
Fortunately, one year we were able to participate and photograph the entire process. And here we share the photos with you.
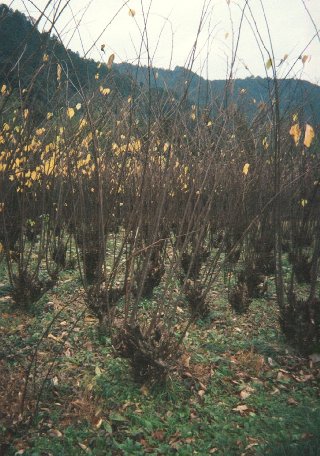 1. On the right is a Kozo field that belongs to Mr. Fukunishi. A similar field is owned by Ryoma Elementary School where the children cut the Kozo to be used in their diploma.
This particular field is about 11 plants x 11 plants. The distance between Kozo plants is about 1.5 meters. About 1/5 of this or 24 plants were harvested by the students. These 24 plans will produce about 2.2 kg of dried Kozo which will produce about 100 diplomas.
This entire field provides only enough raw material for a few days of professional papermaking. One of the recurring themes of this article will be the vast effort required to make Washi. Perhaps 80% of the effort is in preparing the materials to make the paper. Forming the paper itself is only one small step.
Kozo does not have seeds, it is propagated by root cuttings. It takes about five years from the initial planting before the first harvest. After which Kozo can be harvested every year. The Kozo field on the right is about thirty years old and should be productive for another ten years.
Early in the season, the Kozo plants are pruned so that only the best branches that are well-spaced remain.
Kozo can be harvested any time after their leaves fall and before buds appear. Typically, the first thing after New Years is Kozo harvesting – depending on the weather this would be around January 10th. However, for the students this would be long after graduation, so they harvest the Kozo in late November (this year they did it on 11/29). Harvesting at exactly the right time will result in very easy separation of the bark after steaming (see next step).
Kozo prefers direct sun and damp soil. And like bamboo, one must be very careful otherwise the entire area surrounding the Kozo field will become a Kozo field.
To harvest Kozo, all of the branches are removed from the plant leaving perhaps 10 cm of stem. When cutting the Kozo, do not use a hatchet. One wants to be careful in the method of cutting so that next year’s new growth will be correct and vigorous. To cut the Kozo properly one uses a tool like a knife with handles on each end that are perpendicular to the blade. Cutting from the bottom of the stalk upwards at an angle (pulling the tool towards you).
To prepare the stalks cut into lengths of 1.2 meters making sure to cut at an angle from the bottom of the plant towards the top. The actual length to cut the plans depends on the size of your steamer.
Finally, cut the branches off the main stalk very close to the stalk. Not doing this will cause problems when stripping the bark.
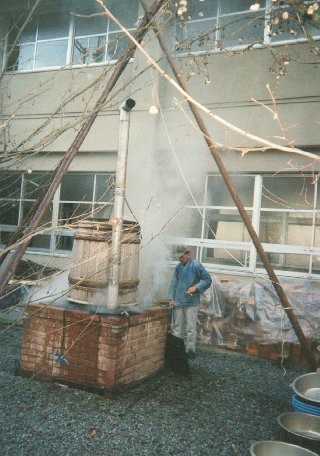
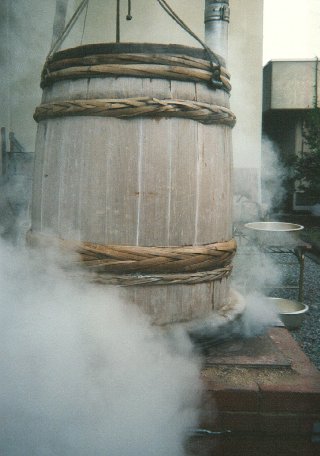
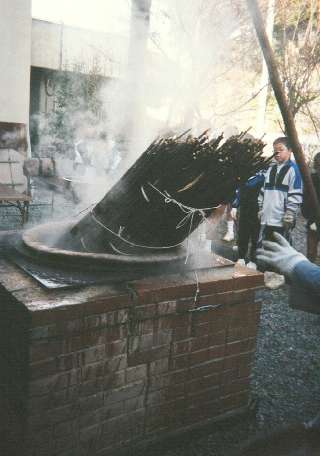
The barrel must be made of wood, not metal. Any wood will do. Stainless steel bands are fine, but at all costs avoid iron.
The basin is at about 8 inches deep and is made of aluminum, not iron (iron is bad – avoid it). The heat should be well distributed across the bottom of the basin in order to avoid hot spots and consequently excessive heating of only the bottoms of the stalks above the hot spot.
The length to cut the Kozo stalks was mentioned about to be 1.2 meters. This length is adequate for this particular setup and will vary depending on the depth of the basin and the height of the barrel. With this setup, the stalks of the Kozo come up to about the middle of the barrel.
The Kozo is steamed for about 2 hours (this includes about 1 hour to get the water boiling). A little longer may be necessary.
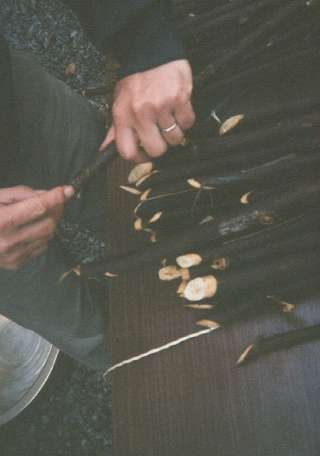

The bark is stripped from the branch and then bundled
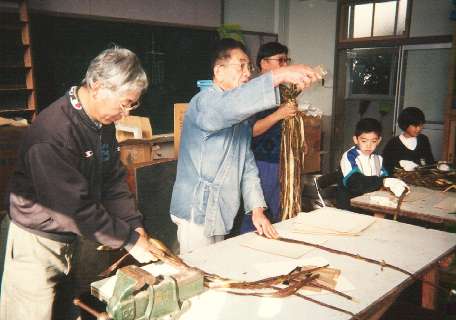
Starting from the bottom strip the white bark from the black
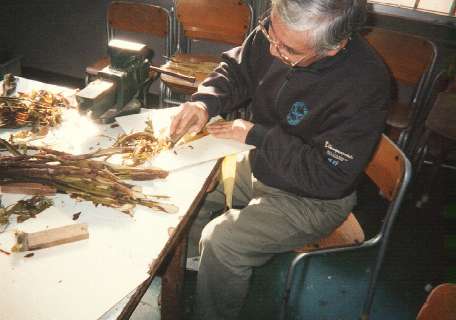
Using a razor the outer bark is easily stripped off. What we want is the white inner bark.
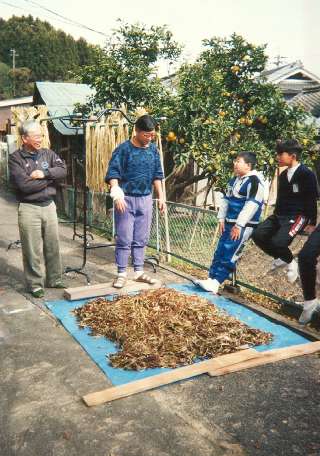
More than half of the material is the outer black bark which will be put to use, but not in making this paper. The white bark that will be used to make the paper is hanging in the background.
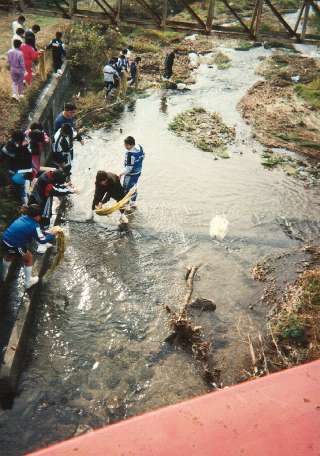
The kozo is washed in the Yoshino river by first beating it against the water to remove flecks. The boys are particularly fond of this step.
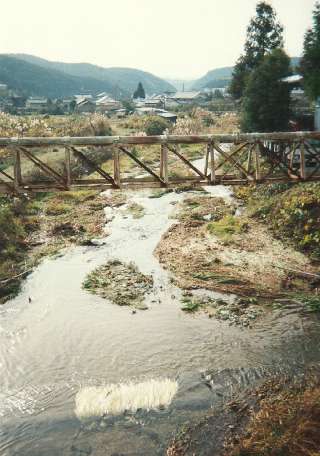
The Kozo will be left for the day.
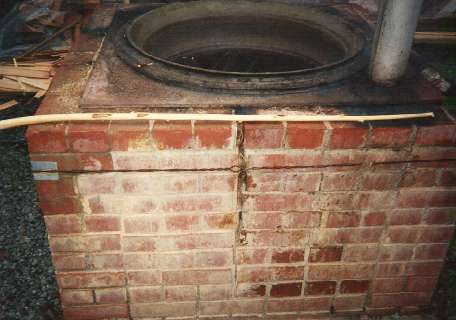
The damage to the Kozo plant (you can see the dark areas on the white branch) are cause by the wind rubbing the stalks together. The Kozo fibers around these damaged areas will have to be removed. This is why each Kozo plant is pruned to minimize the chance of the stalks rubbing together and causing extra work when the bark must be cleaned and sorted.
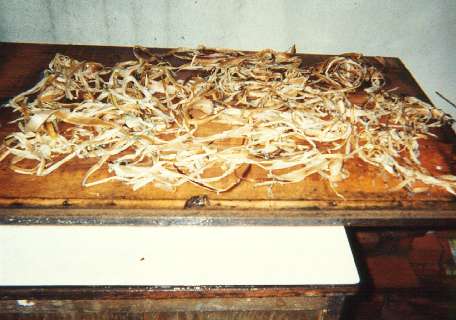
These scraps are the damaged parts of the inner bark. Instead of being white and soft, these are scar tissue that is yellow and fibrous. Damage happens to the inner bark when the Kozo stalks are knocked or rubbed together repeatedly by the wind.
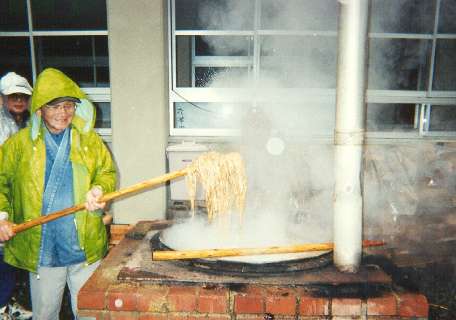
The kozo is then boiled.
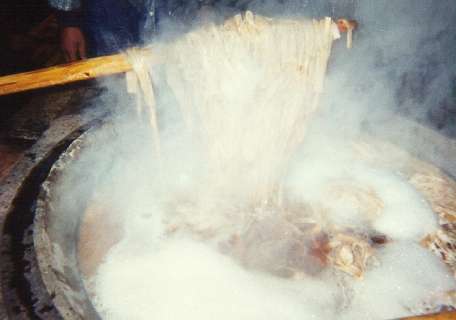
And boiled.
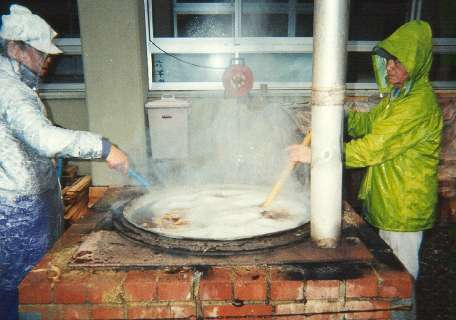
Stirred and boiled.
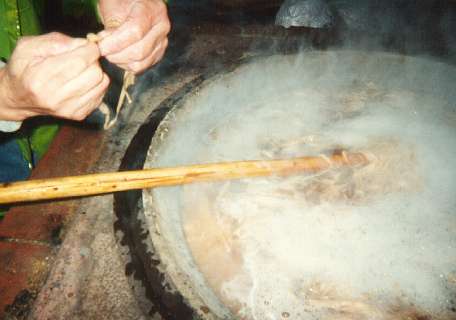
The Kozo is pulled apart to test if it is ready. The fibers should pull apart rather easily. Perhaps this winter was too warm because the fibers are tough and need more boiling.
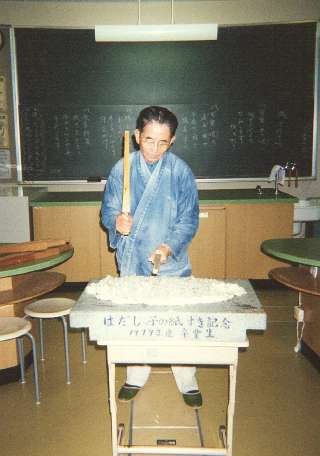
Beating the Kozo is a long and tiring process. On the blackboard is a song that papermakers will sing while beating the fibers. This helps to maintain the beat and to take one’s mind off of the long and labor intensive work.
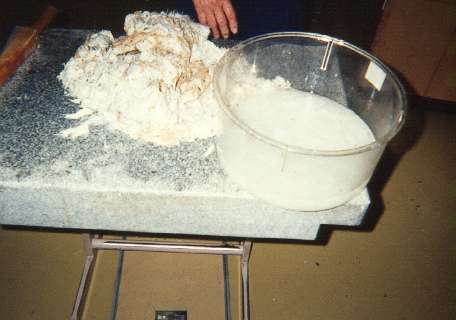
The Kozo is obviously not ready, but the way to test is to place some in water and if the fibers separate and disappear, then the beating can stop.
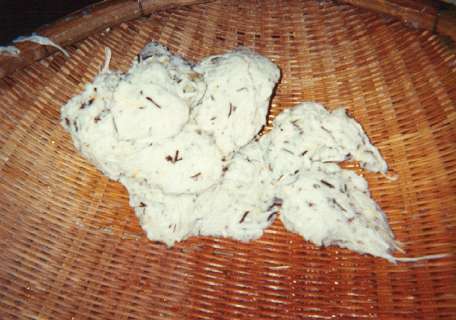
The Kozo still has black bark and specs. These would all have to be removed if we were making real Yoshino paper. For the diplomas, however, the Kozo will be placed in a Hollander and later bleached.
A popular side job among the retired in Yoshino is to pick out all the flecks so only the pure white fibers remain.
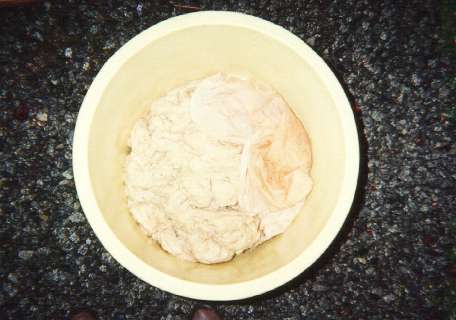
The kozo before the dyeing process.
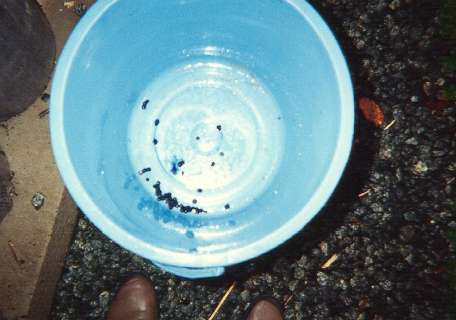
Local berries that the students picked are used to dye the kozo.
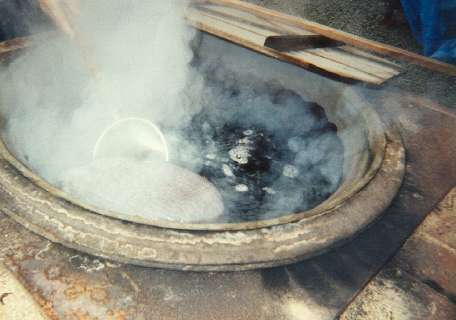
Berries are in a cloth sack and boiled with the kozo.
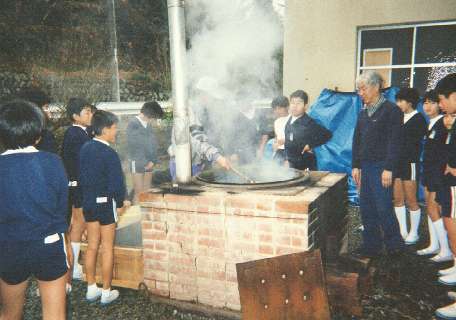
The students look on as the kozo is dyed.
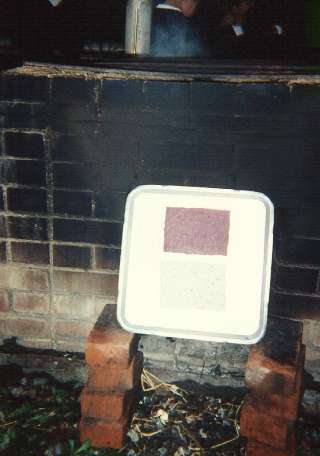
Samples are taken and dried to make sure the color is just right.
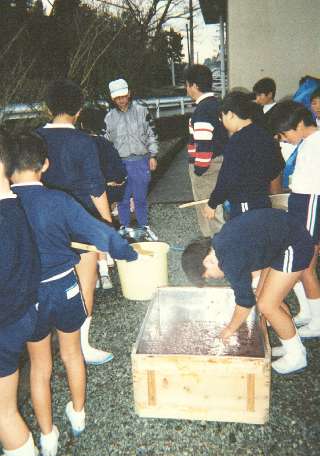
The students inspect their work.
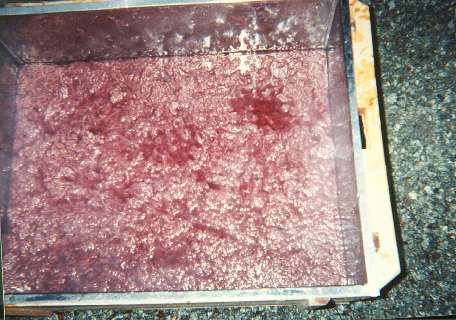
The finished kozo to be used to make the certificates.
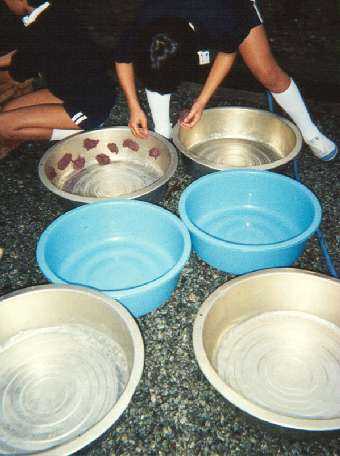
Students dry the kozo in small clumps.
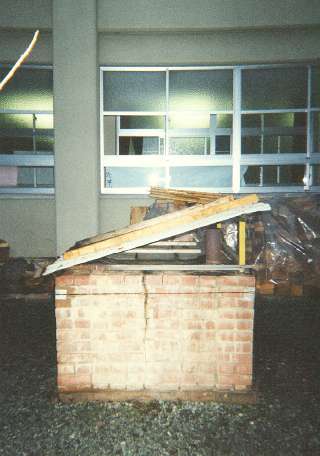
Clean-up for the winter so everything will be ready for next year.
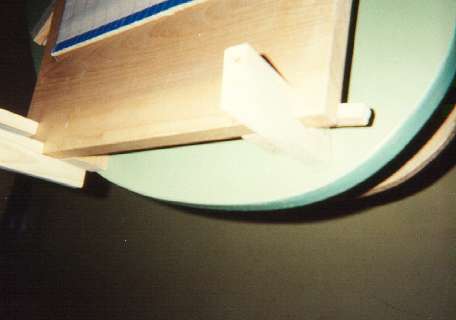
Guides aid in aligning the keta so perfect posts can be formed.
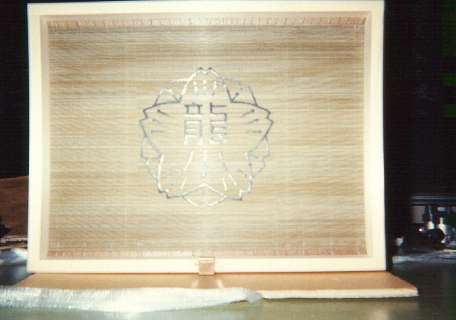
The mould with the watermark for the diplomas.